这个系列是我用来学习 Metal API 的笔记,我的最终目的是希望实现一个基于 Metal 的游戏引擎。
目前系列有:
hello-metal.1 看到了绿色
hello-metal.2 第一个三角形
hello-metal.3 四边形
hello-metal.4 动画
hello-metal.5 材质贴图
上一篇我们成功的绘制了一个四边形,并且运行了一个简单的动画,今天我们来一起搞定材质贴图。
在前面的文章里已经介绍到了,我们通过两个三角形组合成了一个矩形,并且为每个顶点都增加偏移,以便我们在外部控制每帧绘制时坐标偏移。
在发送数据给 GPU 时,在 CPU 端准备的数据,必须设定好内存布局,然后在 shader 中接受时,也要使用相同的内存布局,否则读取就会出现问题,这也是为什么我们很多地方都在计算 offset 的原因。
这次我们拆分下数据,将原本一个 buffer 中的顶点数据,拆分为多个 buffer,一同发送给 GPU。
多条 MTLBuffer 在 MTLVertexDescriptor 中我们可以添加多条 attributes,需要指定一个新的 bufferIndex,因为每一条属性对应了新的 MTLBuffer。
1
2
3
4
5
6
7
8
9
10
11
12
13
14
let vertexDescriptor = MTLVertexDescriptor ()0 ].format = .float30 ].offset = 0 0 ].bufferIndex = 0 1 ].format = .float41 ].offset = 0 1 ].bufferIndex = 1 0 ].stride = MemoryLayout <simd_float4>.stride1 ].stride = MemoryLayout <simd_float4>.stride
每条 attributes 设置完毕后,我们还需要指定三条布局,和之前的指令相比,相当于我们将所有数据放在一条 buffer中,现在我们拆分成并行的数据,一块发送给 GPU。
在这张图中可以看出,内存布局是由 layout 决定的,数据是由 attributes 组成。
多条缓冲区是单条缓冲区的结构复制,会并行将数据都发送到 GPU。
设置好内存布局以后,我们就需要创建对应的 MTLBuffer 来保存独立的顶点数据。
1
2
var positionBuffer: MTLBuffer ?var colorBuffer: MTLBuffer ?
在我们的 buildModel 函数中将数据初始化。
1
2
3
4
5
6
positionBuffer = device.makeBuffer(bytes: positionVertices,* MemoryLayout <simd_float4>.size,= device.makeBuffer(bytes: colorVertices,* MemoryLayout <simd_float4>.size,
然后我们需要将顶点数据发送到 GPU,在 draw 函数中,将原本的 commandEncoder.setVertexBuffer 删除,并使用新的 MTLBuffer,而且需要注意的是,index 参数需要和 MTLVertexDescriptor 中的 index 保持一致,否则就无法正确的读取。
1 2 3 4 5 6 commandEncoder.setVertexBuffer(positionBuffer,0 ,0 )0 ,1 )
那么数据发送到 GPU 之后,shader 要如何使用数据呢?
我们需要在 shader 中增加一个结构体,并使用一些语法标记。
1
2
3
4
5
6
7
8
9
struct VertexIn {
[[ attribute(0) ]] 的意思就是为了取得对应的 attributes。
还需要修改一下顶点着色器代码,传入结构体。
1
2
3
4
5
6
7
vertex VertexOut vertex_shader(const VertexIn vertexIn [[ stage_in ]]) {
我们注意到,参数里有一个 [[ stage_in ]] 的标记,[[ stage_in ]] 可以修饰结构体,参数中只允许有一个参数使用该标记进行修饰。
由于我们的顶点是原始信息,所以只需要正常的赋值新的结构体,然后返回即可。
绘制材质 材质贴图又称为纹理,纹理也有像素的称呼,但是需要区分一下,这里的像素并不是指屏幕上的物理像素。纹理使用不一样的坐标系,其原点在左上角,并且可以使用归一化将坐标系压缩至 (0.0, 1.0),当然不强制使用归一化坐标系,但是当你想使用不同分辨率的纹理时,只要映射关系正确,就可以正常工作。
绘制材质需要先进行顶点映射,材质的坐标系与顶点的坐标系不相同,所以我们需要提供一种映射,在执行片元着色器时,获取到某个位置正确的图片颜色。
坐标映射 我们在 vertexDescriptor 中增加一条新的属性,用来保存映射关系。
1 2 3 4 5 6 2 ].format = .float22 ].offset = 0 2 ].bufferIndex = 2 2 ].stride = MemoryLayout <simd_float2>.stride
创建新的 MTLBuffer,保存映射关系。由于我们只使用了四个顶点,两个三角形组成了矩形,所以我们只需要将四个点的坐标对应起来就可以了。
1
2
3
textureBuffer = device.makeBuffer(bytes: textureVertices,* MemoryLayout <simd_float2>.size,
在 draw 函数中,我们增加新的顶点信息。
1
2
3
commandEncoder.setVertexBuffer(textureBuffer,
在 shader 的结构体中增加属性的接收。
1
2
3
4
5
6
7
8
9
10
11
12
13
14
15
16
17
18
19
20
struct VertexIn {0 ) ]];1 ) ]];2 ) ]];struct VertexOut {VertexOut vertex_shader(const VertexIn vertexIn [[ stage_in ]]) {VertexOut vertexOut;= vertexIn.position;= vertexIn.color;= vertexIn.textureCoordinates;return vertexOut;
读取文件 好,我们现在已经成功的设置好了顶点属性,可是我们还没有讲如何读取文件呢。
首先,在 Metal 中,材质的读取是通过 MTKTextureLoader 创建一个加载器,可以使用它提供的 newTexture 方法创建一个 MTLTexture 对象。
1
2
3
4
5
6
7
8
9
10
11
12
13
14
15
func createTexture (device : MTLDevice , imageName : String ) -> MTLTexture ? {let textureLoader = MTKTextureLoader (device: device)var texture: MTLTexture ? = nil let textureLoaderOptions: [MTKTextureLoader .Option : Any ] = [.origin: MTKTextureLoader .Origin .bottomLeft]if let textureURL = Bundle .main.url(forResource: imageName, withExtension: nil ) {do {= try textureLoader.newTexture(URL: textureURL, options: textureLoaderOptions)catch {print ("texture not created" )return texture
在上面的代码中,我通过 MTKTextureLoader.Option 修改了坐标系的方向,将原点从左上角改为左下角(第四象限位置改为第一象限),可以不用修改,仅仅是个人喜好。
设置采样 根据一般的流程,这个时候应该会先说画出来,然后发现画面比较模糊,这时候才开始说采样需要调整。
我不按套路,我就是要先讲采样,略略略。
Metal 使用 MTLSamplerDescriptor 来控制采样,我才用最基本的线性采样。Metal 的着色器工作流程是,先执行顶点着色器,处理顶点的坐标信息,再执行光栅化,确定像素边界,裁剪超出的像素。当光栅化结束后,执行片元着色器,计算每个像素的颜色。我们在片元着色器中使用材质,为片元着色器传入材质、顶点信息和采样属性,就可以完成像素颜色的输出。
1
2
3
4
5
6
7
var samplerState: MTLSamplerState ?private func buildSamplerState (device : MTLDevice ) {let descriptor = MTLSamplerDescriptor ()= .linear= .linear= device.makeSamplerState(descriptor: descriptor)
在构造函数中执行该函数,就可以完成 MTLSamplerState 构建。
紧接着,我们为 MTLCommandEncoder 设置片元采样状态。
1 commandEncoder.setFragmentSamplerState(node.samplerState, index: 0 )
在 shader 中修改片元着色器代码,使用上面设置好的全部信息。
1
2
3
4
5
6
7
fragment half4 fragment_shader(VertexOut vertexIn [[ stage_in ]],
在参数中使用 [[ sampler(0) ]] 来获取为 MTLCoMTLCommandEncoder 设置的 samplerState 的 index,[[ texture(0) ]] 获取 draw 函数中传入的材质。
渲染 终于到最后了,我们好像还没说 textureVertices 应该存什么样的数据。我们现在有四个顶点,我们的矩形是两个三角形组成的,所以我们的的数据就是,四个角的点,与图片的四个角保持一致即可,我已经将材质的坐标系原点改为左下角,所以数据就是:
1
2
3
4
5
6
var textureVertices: [simd_float2] = [0 , 1 ), 0 , 0 ), 1 , 0 ), 1 , 1 ),
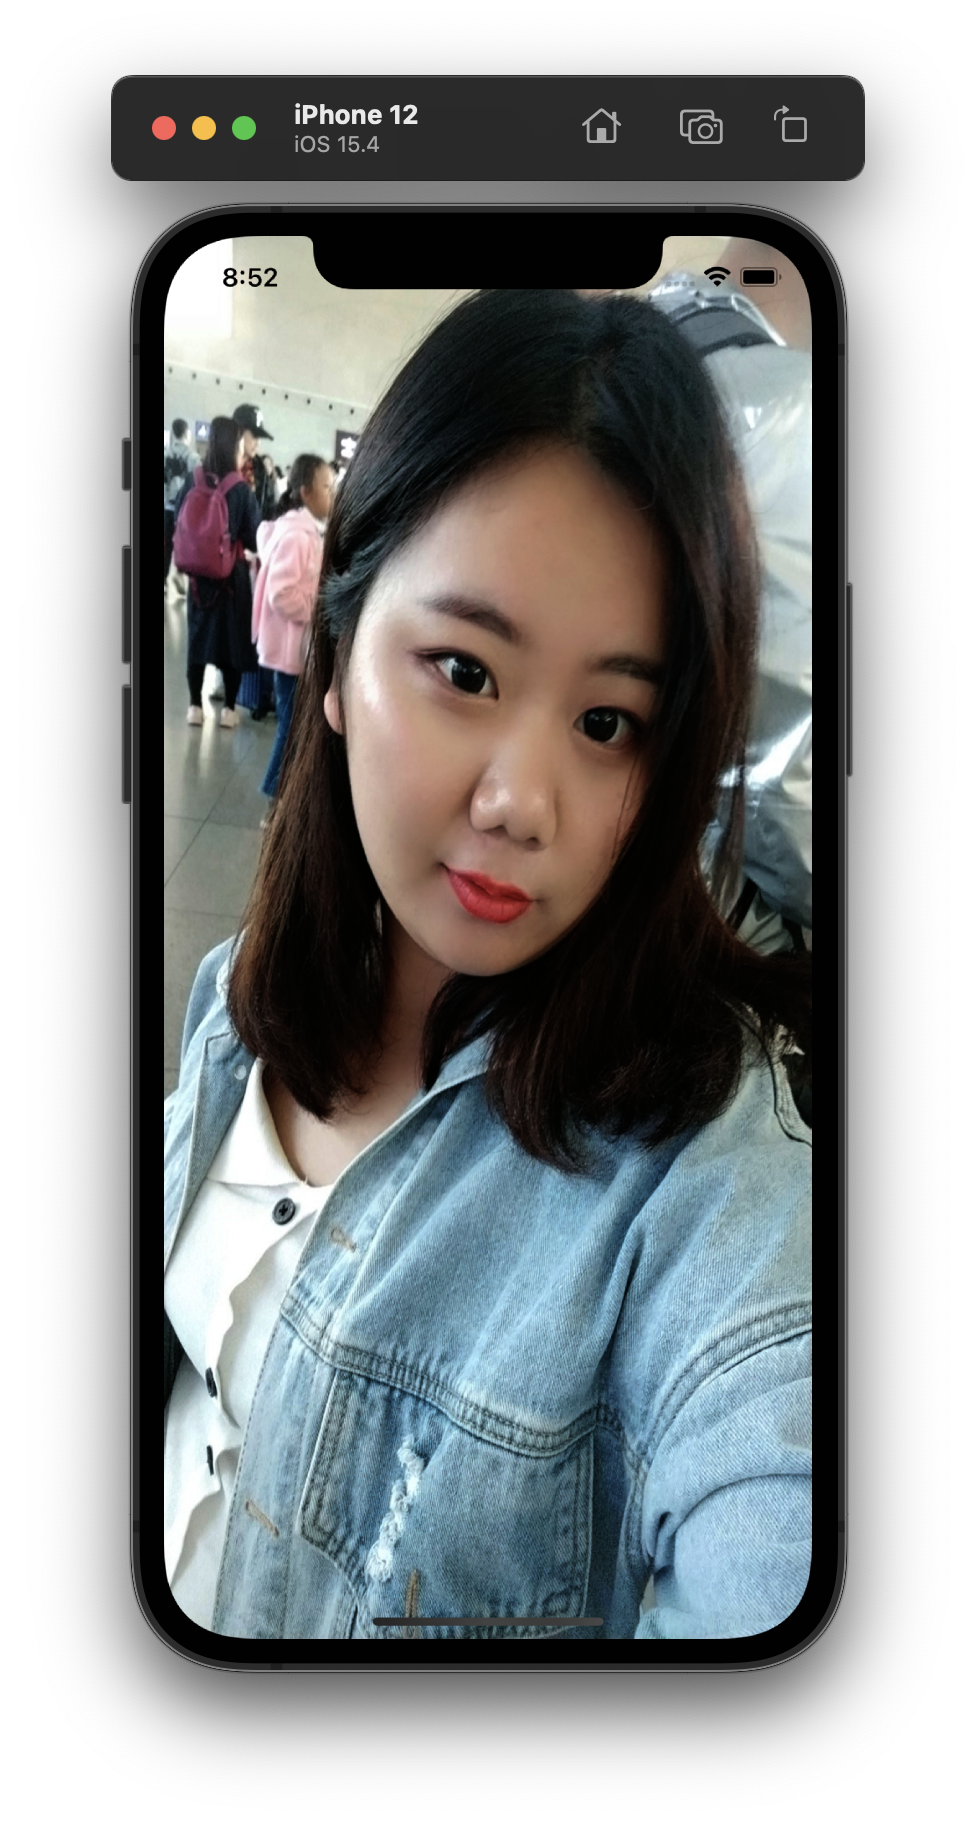
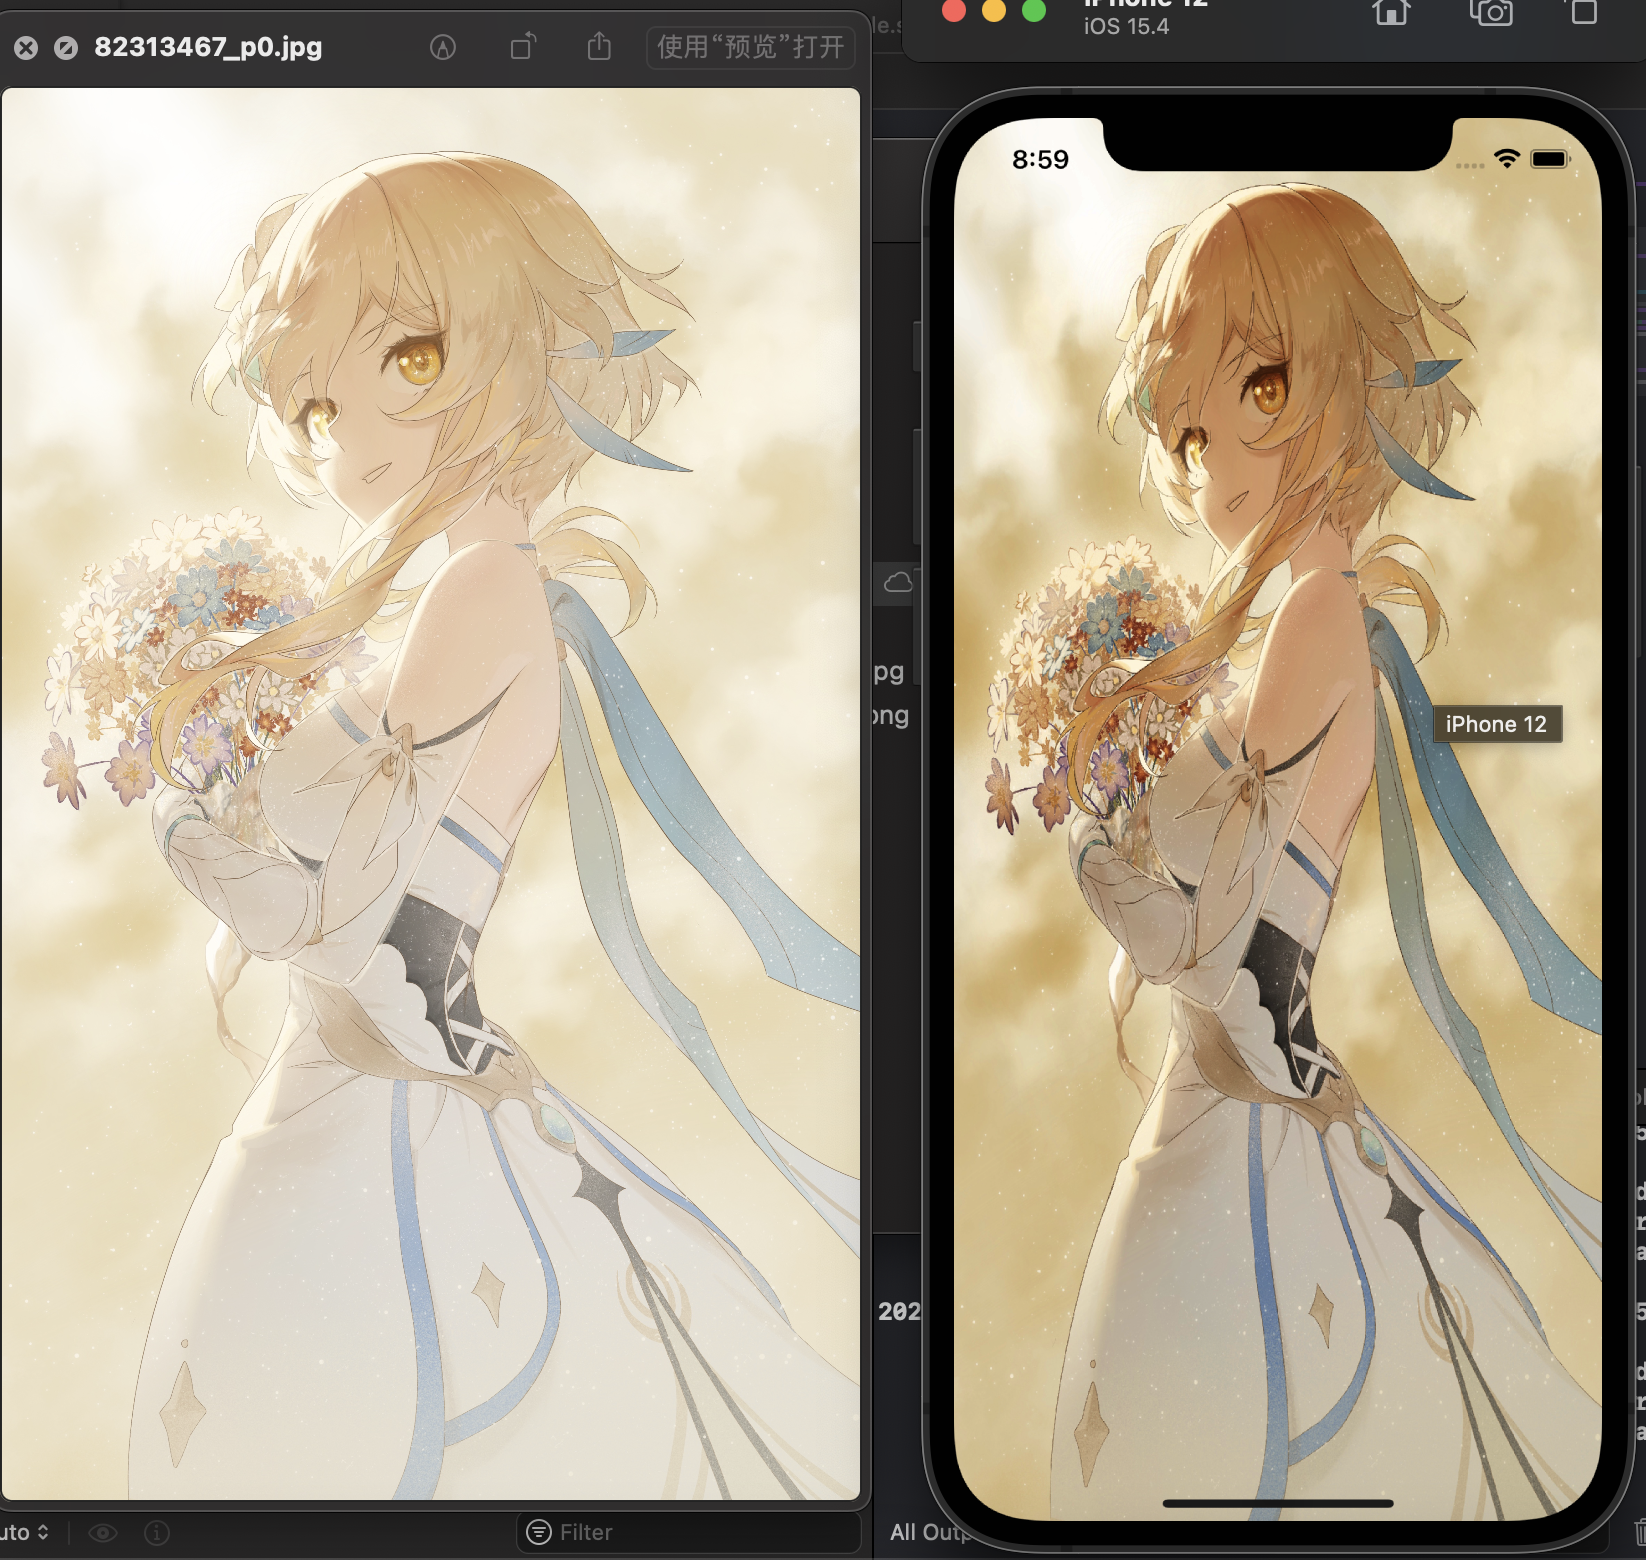
好,我们已经完成了所有的准备工作,现在是时候加载我老婆了!
也许你注意到了,照片看起来似乎饱和度有一些不太对,这是因为我们还没有调整色彩空间,只是简单的读取了原始信息,所以我们需要做一些处理,这就留到下一篇章吧~
参考资料
https://developer.apple.com/documentation/metal/mtlvertexdescriptor https://developer.apple.com/metal/Metal-Shading-Language-Specification.pdf https://metalbyexample.com/vertex-descriptors/ https://metalbyexample.com/textures-and-samplers/